
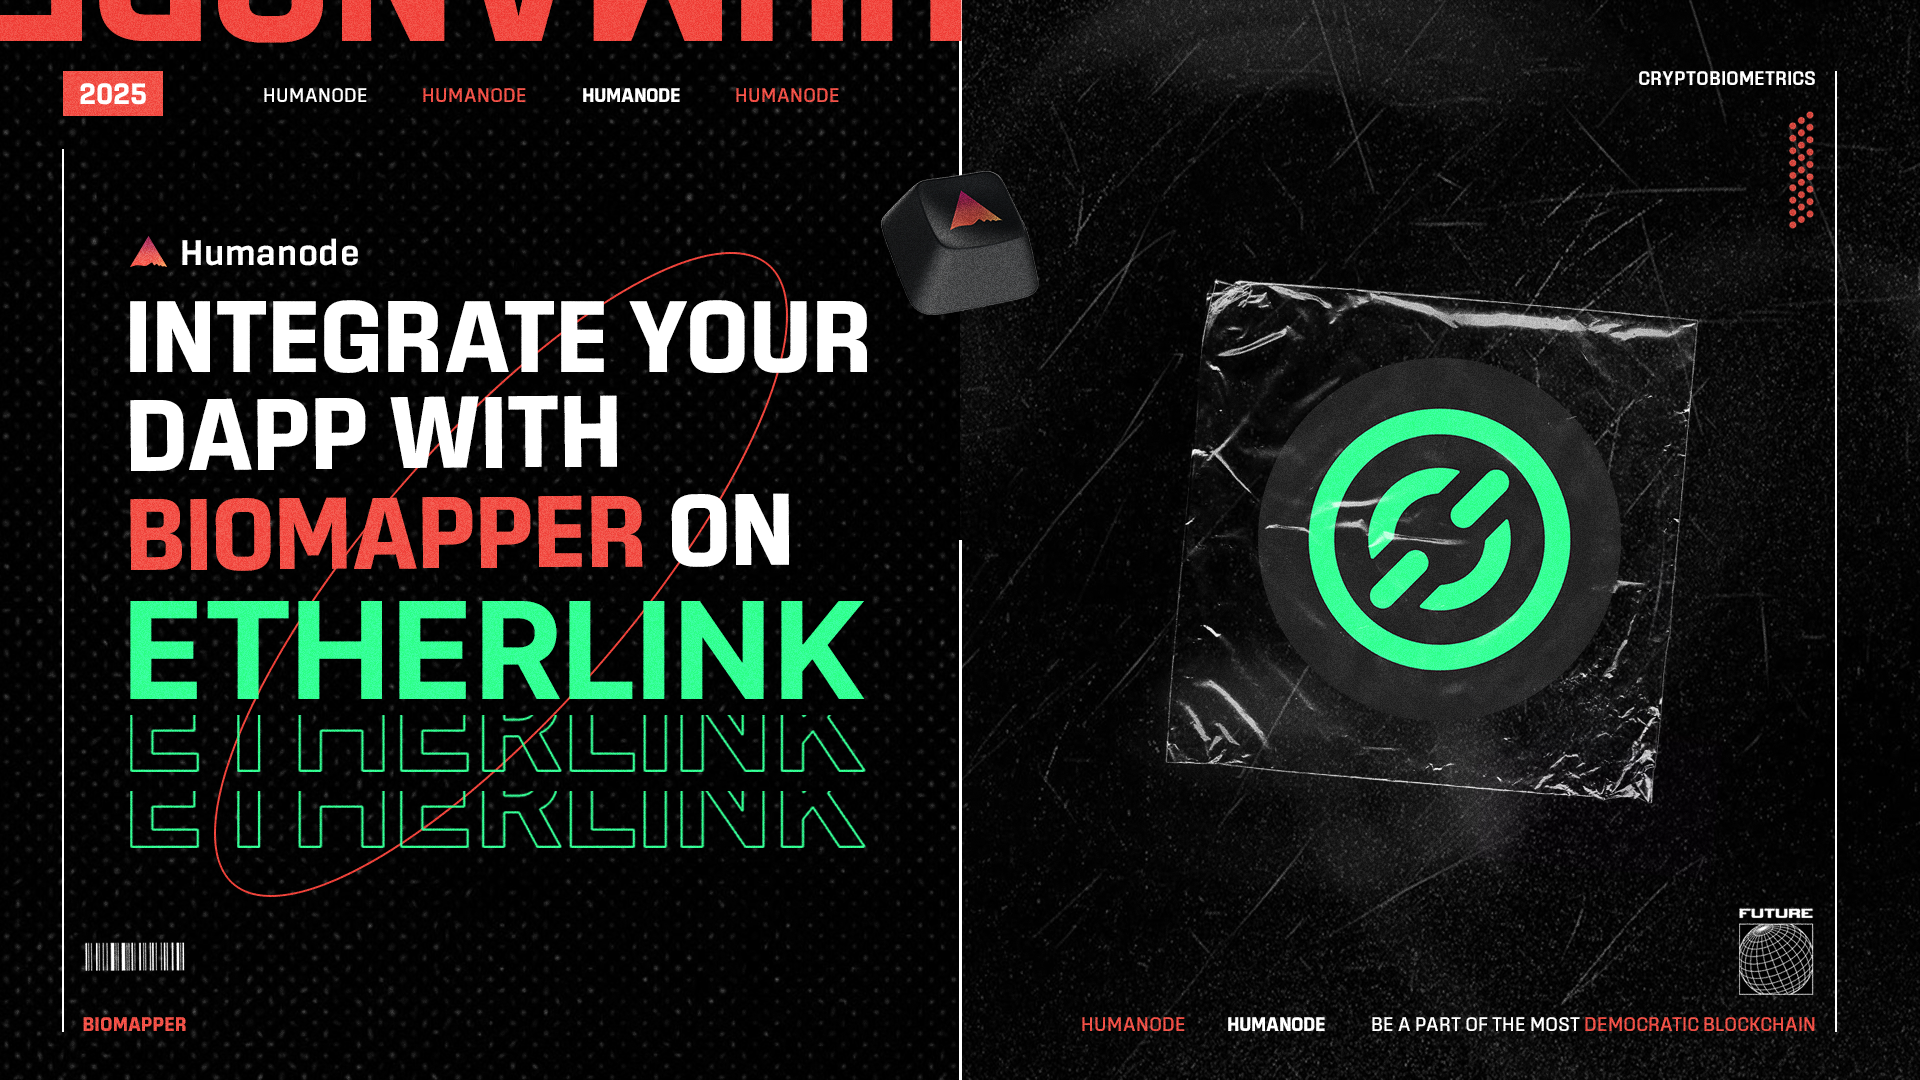
How to add Sybil resistance to your Etherlink dApp using Humanode Biomapper
Etherlink is a decentralized, EVM-compatible Layer 2 built on Tezos. It’s designed for speed, low fees, and security, making it a flexible environment for DeFi, gaming, and real-world applications. As the ecosystem grows, Sybil attacks and bot exploitation can undermine governance, rewards, and fairness, issues every builder needs to account for.
Humanode Biomapper is now available on Etherlink, bringing a privacy-preserving, biometric Sybil-resistance layer to dApps. Biomapper ensures that each wallet address corresponds to a real, unique human, no KYC, no personal data exposure.
Key Concepts
- Generations: User uniqueness is valid for a fixed period (“generation”). After that, re-verification is required.
- Integration Flow: Users verify once, bridge their uniqueness proof to Etherlink, and then reuse it across all compatible dApps.
Step-by-Step Integration Guide
1) Install Biomapper SDK
npm install --save @biomapper-sdk/core @biomapper-sdk/libraries @biomapper-sdk/events# or
yarn add @biomapper-sdk/core @biomapper-sdk/libraries @biomapper-sdk/eventsFor Foundry:
forge install humanode-network/biomapper-sdk2) Import SDK Interfaces (Solidity)
// SPDX-License-Identifier: MIT

pragma solidity ^0.8.20;

// Core read interface

import { IBridgedBiomapperRead } from "@biomapper-sdk/core/IBridgedBiomapperRead.sol";

// Optional: read detailed logs

import { IBiomapperLogRead } from "@biomapper-sdk/core/IBiomapperLogRead.sol";

import { BiomapperLogLib } from "@biomapper-sdk/libraries/BiomapperLogLib.sol";
3) Connect to the Bridged Biomapper Contract
Use the deployed BridgedBiomapper contract address on Etherlink.
4) Add Biomapper UI Link (Frontend)
Send users to verify uniqueness via the Biomapper app:
< a href="https://biomapper.hmnd.app" target="_blank">Verify Uniqueness< / a>After verification, they return to your dApp ready to interact.
5) Local Testing (Optional)
Use the SDK’s mock contracts (e.g., MockBridgedBiomapper) for local development. See the SDK docs for setup and usage.
6) Deploy Your dApp
- Deploy your contract on Etherlink (testnet or mainnet).
- Use the correct BridgedBiomapper address for Etherlink.
- Make sure your frontend points users to the Biomapper App for onboarding.
Resources
- Biomapper App: https://biomapper.hmnd.app
- Docs: https://link.humanode.io/docs/biomapper
- SDK: https://link.humanode.io/docs/biomapper-sdk
- Integration Guide: https://link.humanode.io/docs/biomapper/integration/chains/etherlink
By integrating Biomapper with your Etherlink dApp, you can stop Sybil attacks, keep rewards and governance fair, and maintain user privacy, all while letting builders focus on creating.
If you want to integrate Biomapper into your Etherlink app, use the guide above.